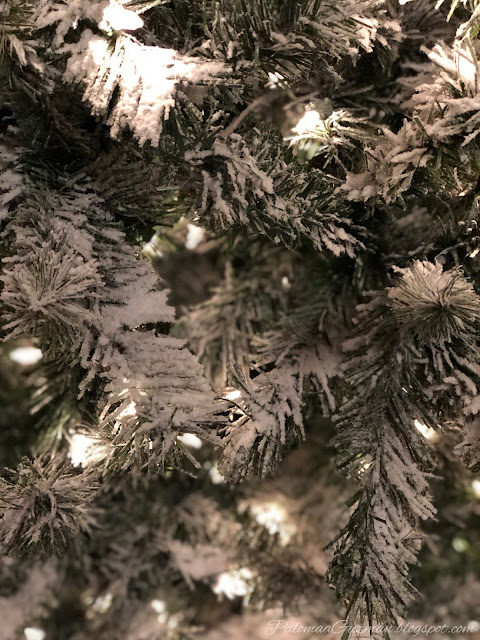
DIY Flocked Christmas Tree
This year I really wanted a flocked Christmas tree but with a baby on the way I could think of a million other things I needed to buy and a tree wasn't on the list. So, I decided to DIY it. I used a tree I already had from Walmart and I love how it turned out.
I found my inspiration from none other than Pinterest. I started searching ways to flock your own tree and came across many different ways to do so using lots of different materials. I told myself if I was going to do this I wanted it to look as close as possible to the real thing. Then I came across a blogger who had done this herself too and used the kind of flocking material that the pros use called Sno-Bond. It comes in different sizes I wasn't too sure how much I would need so I bought the 2lb bag and I used the whole bag on my tree. I could have bought the 5lb bag if I wanted a heavier flock, but when I was done I liked how it looked after using just that one bag. If you have a bigger or fuller tree I recommend getting the 5lb bag. The 2lb bag of Sno-bond was only $18.99. You definitely can't get a flocked tree for that price now can you ?
BEFORE
The process was fairly simple, messy and a little tiring on the hand if you are doing it alone but other than that it's simple. I recommend working outside or in your garage if you can to avoid the mess inside but if you can't just make sure you lay down enough garbage bags to cover the floor because this stuff can get everywhere. If you are wondering if I did anything to the lights before flocking I didn't because I like the glow of the lights when it's covered with a bit of flocking.
Things you will need:
1.Sifter
2.any old spray bottle
3. Flocking Snow (I got mines from Amazon here)
4. Garbage bags or drop cloth
If you are doing research of your own on how to flock you will notice everyone has a different way of doing it. My suggestion to you is to just go with whatever you feel works best for you.I started by spraying the tree with water which is what activates the snow just enough to get it damp then with the sifter dusted some of the powder over the damp areas. Then I sprayed some water again. Now you can spray and dust at the same time as well which is what most tutorials will tell you to do. I did a combination of both throughout the tree. When I was done I went around the tree and sprayed some more water kind of like a top coat if you will. After you have flocked to your hearts desire you need to let it all dry. I let mines sit for 24hrs before I moved it but if you did a heavier flock your drying time will be longer. One thing I did notice during the moving of the tree was that there was some fall out nothing too crazy but I had to sweep after I moved it and after I decorated.
I had my doubts honestly on the outcome I thought it would look cheap but I'm glad it doesn't. It really does remind me of the look of fresh fallen snow on trees which makes my heart skip a beat.I am so pleased with the turn out and my boyfriend loved it as well. He was surprised at how good it looked which made me extra happy lol.
This by far is my favorite DIY project ever ! This year's tree is also my favorite tree I've done since we moved here. I can't wait for you guys to see it fully decorated.(Hint: my color theme is Rose Gold and Silver.) Stay tuned for more holiday posts during my holiday series.


Comments
Post a Comment